Step 1: Register & Download Genymotion
- Before you download Genymotion, you must register on Genymotion site : https://cloud.genymotion.com/
- Go to official Genymotion download page : https://cloud.genymotion.com/page/launchpad/download/
Step 2 : Download & Install Oracle VirtualBox
- Open Main Menu (go to main menu -> Accessories -> Terminal), Inside terminal, execute the following command :
dnd@riyaniezt:~$ sudo apt-get install virtualbox-4.2
- Or if you need to install a specific version, Go to Oracle VirtualBox download page : http://www.oracle.com/technetwork/server-storage/virtualbox/downloads/index.html
- After download Inside terminal, execute the following command :
dnd@riyaniezt:~$ sudo dpkg -i virtualbox-4.3_4.3.0-89960~Ubuntu~precise_i386.deb
Step 3: Install Genymotion
Inside terminal, execute the following command :
  dnd@riyaniezt:~$  sudo chmod +x /opt/genymotion-1.3.0_x86.bin
  dnd@riyaniezt:~$  sudo /opt/genymotion-1.3.0_x86.bin
Note :
/opt/ is installer path
Step 4: Create Menu to access Genymotion
- Open Main Menu (go to main menu -> preferences -> Main Menu), or Inside terminal, execute the following command :
dnd@riyaniezt:~$ alacarte
- If you have seen window “Main Menu”, In the navigation pane on the left, click System Tools category,
- Click the “+ New Item” to add new laucher,
- If you have seen window “Create Launcher”,
- In the Name box, type “Genymotion” (without quotes),
- In the Command box, type “/opt/genymotion/genymotion” (without quotes),
- In the Comment box, type “Android Emulator” (without quotes),
- In the Icon, klik and then Browse and locate the Genymotion icon (Ex : /opt/genymotion/icons/icon.png), and then click the “OK” and “Close” button,
- To launch Genymotion, go to Main Menu -> System Tools -> Genymotion.
Step 5 : Create a New Virtual Device
- The main window appears.
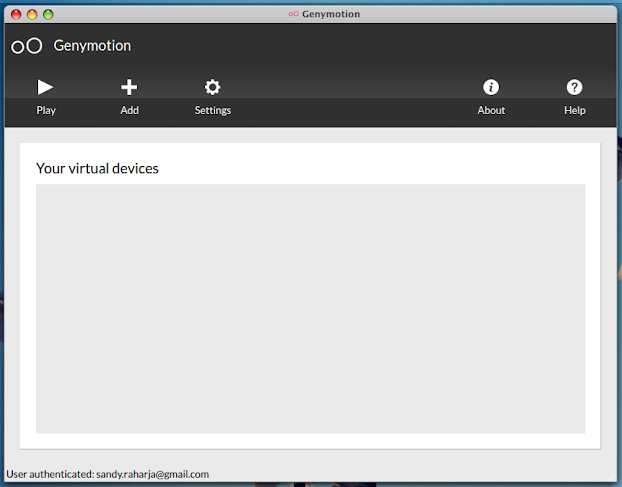
- And immediately, a pop-up appears and invites you to add your first virtual device, and then click the “Yes” button.
- Click the “Connect” button, Fill with your username or your email address, then fill the password field and then click the “Connect” button.

- When connected, you can see all the available virtual device. Select a virtual device (Ex : Nexus One – 4.2.2 – with google apps) in the bottom list and then click the “add” button.

- Click the “Next” button.

- Choose a name for your new virtual device, and then click the “Create” button, and then click the “Finish” button to return to the main window.

- Click the “play” icon to run your virtual device.


